聊天页面
大约 4 分钟
UIKit-Flutter 集成文档
聊天页面
用户可以在聊天页面中进行单聊、群聊或聊天室聊天。该页面分为消息列表和消息输入区域。
创建聊天界面
em_chat_uikit 提供了 ChatMessagesView,添加到 build 中并传入相应的参数即可用。
| 参数 | 类型 | 是否必需 | 描述 |
|---|---|---|---|
conversation | EMConversation | 是 | ChatMessagesView 对应的会话对象。 |
inputBarTextEditingController | 否 | 输入框中的 TextField 对应的 Controller。 | |
background | 否 | ChatMessagesView 的背景图。 | |
inputBar | 否 | 输入框组件。 如不设置,默认使用 ChatInputBar。 | |
onTap | 否 | 消息气泡点击事件。 | |
onBubbleLongPress | 否 | 消息气泡长按事件。 | |
onBubbleDoubleTap | 否 | 消息气泡双击事件。 | |
avatarBuilder | 否 | 头像 widget builder。 | |
nicknameBuilder | 否 | 昵称 Widget builder。 | |
itemBuilder | 否 | 消息气泡 Widget builder。 | |
moreItems | 否 | 长按消息气泡后显示的操作项。如果在 onBubbleLongPress 中返回 null,将使用 moreItems。默认显示三个操作:复制、删除和消息撤回。 | |
messageListViewController | 否 | 消息列表 Controller, 详见 ChatMessageListController。 | |
willSendMessage | 否 | 消息将要发送的事件,需要返回一个 EMMessage 对象。 | |
onError | 否 | 错误回调,如权限错误等。 | |
enableScrollBar | 否 | 是否启用滚动条。默认启用。 | |
needDismissInputWidget | 否 | 用于取消输入 Widget 的回调。如果使用自定义输入 Widget,则在接收回调时取消输入 Widget,例如,通过调用 FocusNode.unfocus。详见 ChatInputBar。 | |
inputBarMoreActionsOnTap | 否 | 单击输入框旁边的 + 的回调。需要返回 ChatBottomSheetItems 列表。 |
class _MessagesPageState extends State<MessagesPage> {
Widget build(BuildContext context) {
return Scaffold(
appBar: AppBar(title: Text(widget.conversation.id)),
body: SafeArea(
// UIKit 中的聊天页面。
child: ChatMessagesView(
conversation: widget.conversation,
),
),
);
}
}

自定义实现
设置主题颜色
可以通过修改主题中的属性来改变消息页面中的颜色和字体。
class MyApp extends StatelessWidget {
const MyApp({super.key});
Widget build(BuildContext context) {
return MaterialApp(
title: 'Flutter Demo',
theme: ThemeData(
primarySwatch: Colors.blue,
),
builder: (context, child) {
// ChatUIKit 需要在你使用 `em_chat_uikit` widget 的根节点上。
return ChatUIKit(
// ChatUIKitTheme 主题。
theme: ChatUIKitTheme(),
child: child!,
);
},
home: const MyHomePage(title: 'Flutter Demo Home Page'),
);
}
}
参数详情如下表所示:
| 参数 | 类型 | 是否必需 | 描述 |
|---|---|---|---|
badgeColor | Color | 否 | 未读数角标颜色。 |
badgeBorderColor | Color | 否 | 未读数 border 颜色。 |
badgeTextStyle | TextStyle | 否 | 未读数角标的字体。 |
sendVoiceItemIconColor | Color | 否 | 发送的语音消息 bubble 中图标的颜色。 |
receiveVoiceItemIconColor | Color | 否 | 接收的语音消息 bubble 中图标的颜色。 |
sendBubbleColor | Color | 否 | 发送消息的气泡颜色。 |
receiveBubbleColor | Color | 否 | 收到消息的气泡颜色。 |
sendTextStyle | TextStyle | 否 | 发送文字消息的字体。 |
receiveTextStyle | TextStyle | 否 | 接收文字消息的字体。 |
conversationListItemTitleStyle | TextStyle | 否 | 会话列表条目标题的字体。 |
conversationListItemSubTitleStyle | TextStyle | 否 | 会话列表条目副标题的字体。 |
conversationListItemTsStyle | TextStyle | 否 | 会话列表条目时间的字体。 |
messagesListItemTsStyle | TextStyle | 否 | 消息列表条目中时间的字体。 |
inputWidgetSendBtnColor | Color | 否 | 表情键盘中发送按钮的颜色。 |
inputWidgetSendBtnStyle | TextStyle | 否 | 表情键盘中发送按钮的字体。 |
添加头像
通过设置 ChatMessagesView 中的 avatarBuilder 实现自定义头像的功能。
class _MessagesPageState extends State<MessagesPage> {
Widget build(BuildContext context) {
return Scaffold(
appBar: AppBar(title: Text(widget.conversation.id)),
body: SafeArea(
// UIKit 中的聊天页面。
child: ChatMessagesView(
conversation: widget.conversation,
avatarBuilder: (context, userId) {
// 返回你要显示的头像 Widget。
return Container(
width: 30,
height: 30,
color: Colors.red,
);
},
),
),
);
}
}
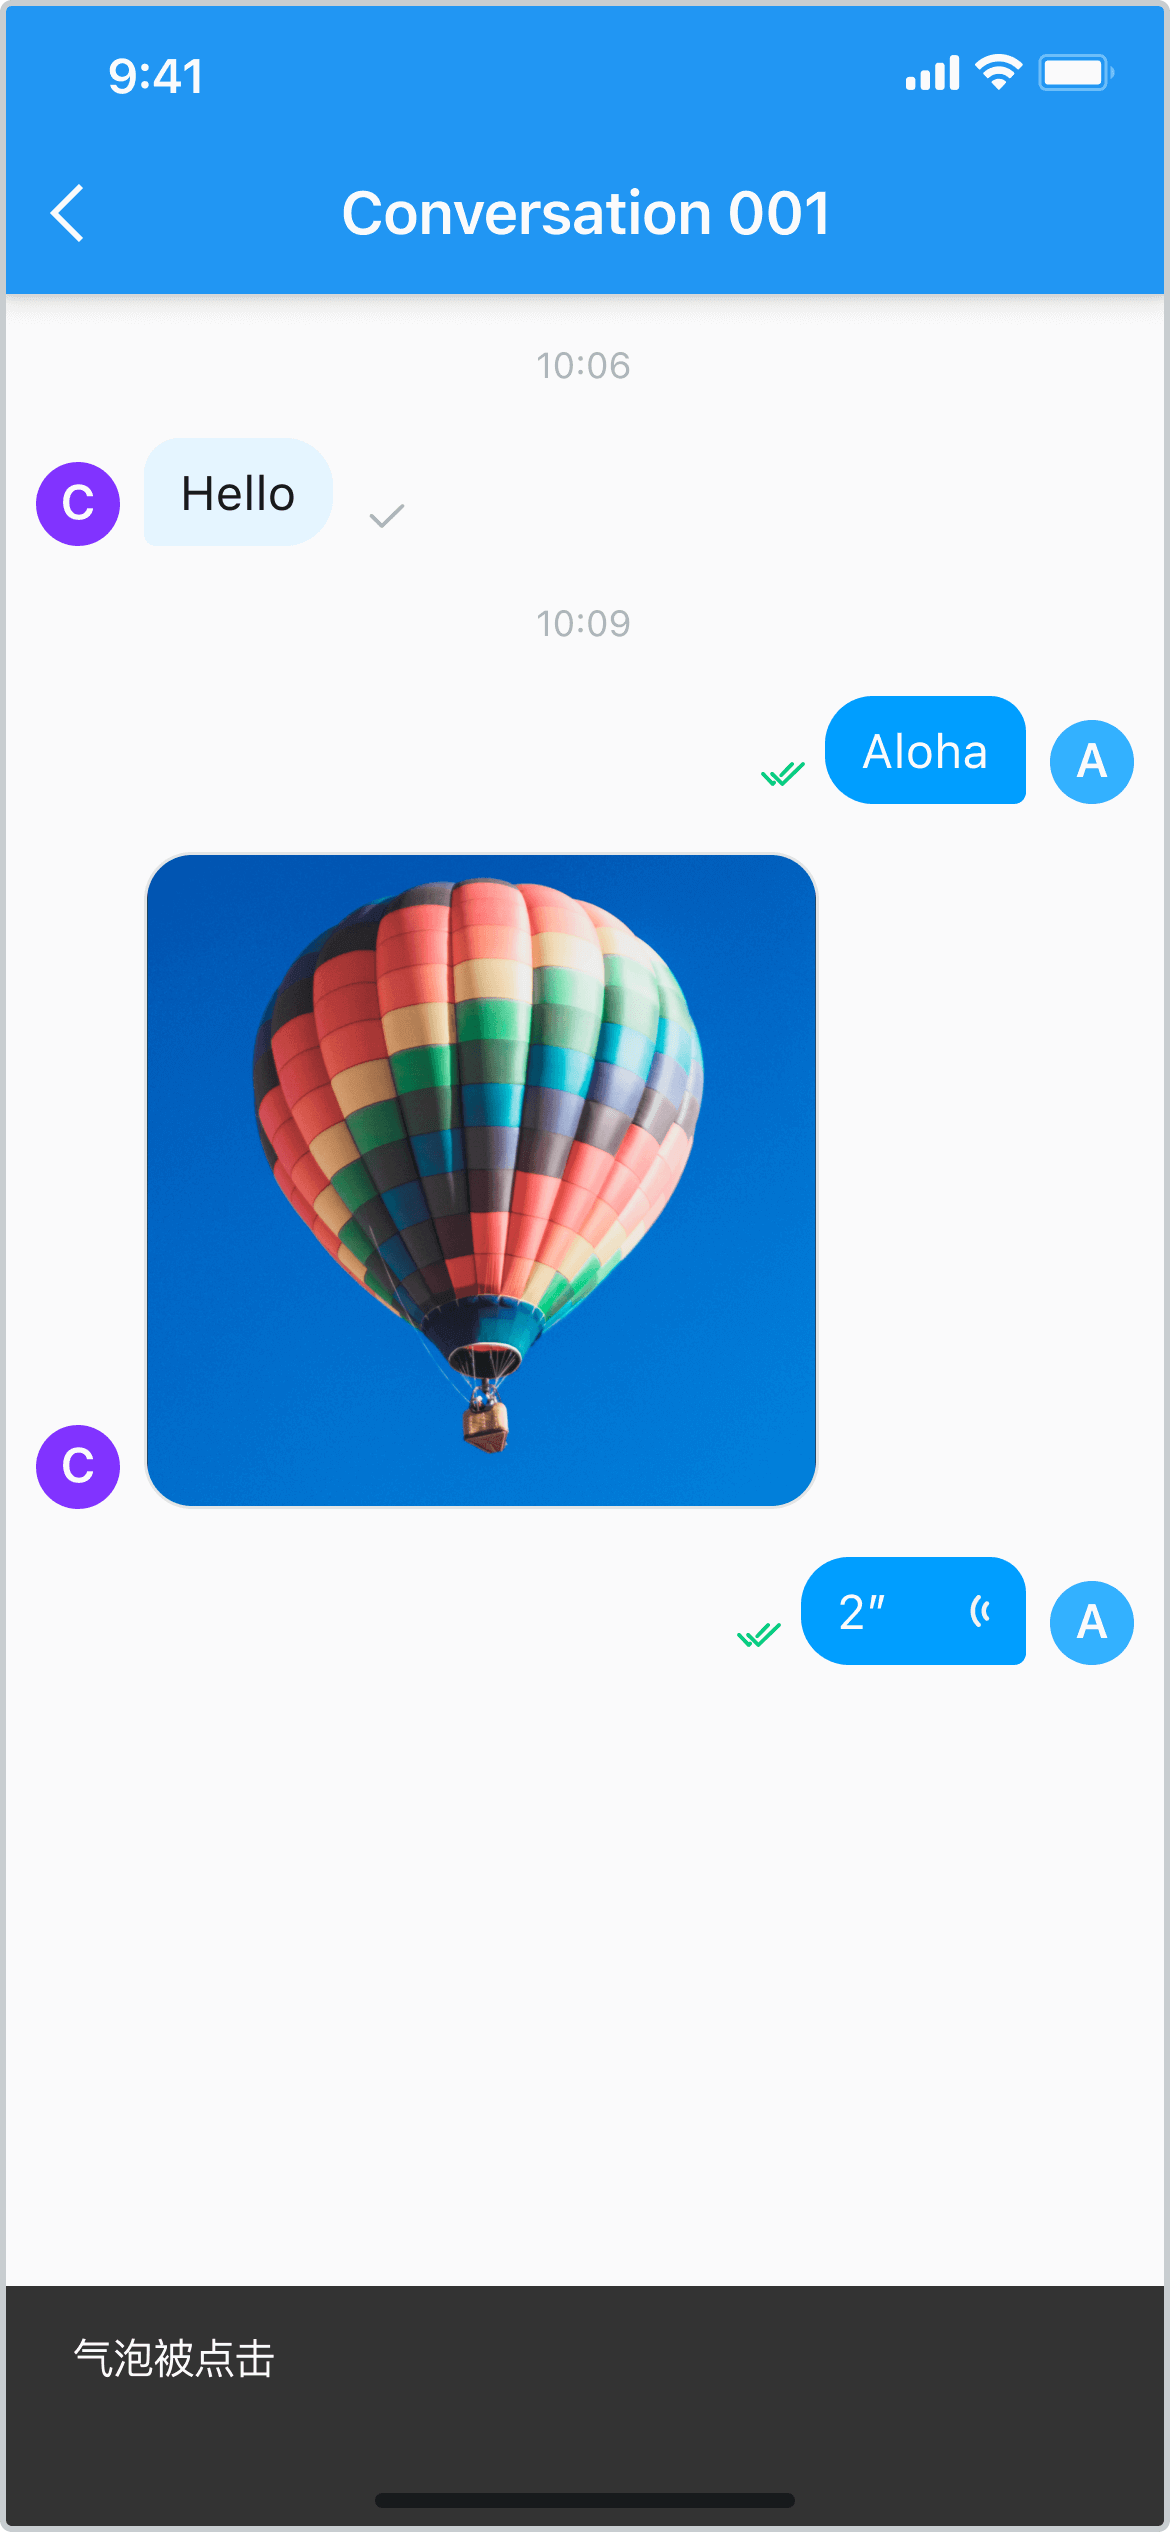
效果如下图所示:
添加昵称
通过设置 ChatMessagesView 中的 nicknameBuilder 实现自定义昵称的功能。
class _MessagesPageState extends State<MessagesPage> {
Widget build(BuildContext context) {
return Scaffold(
appBar: AppBar(title: Text(widget.conversation.id)),
body: SafeArea(
// UIKit 中的聊天页面。
child: ChatMessagesView(
conversation: widget.conversation,
// 返回你要显示的昵称 widget。
nicknameBuilder: (context, userId) {
return Text(userId);
},
),
),
);
}
}
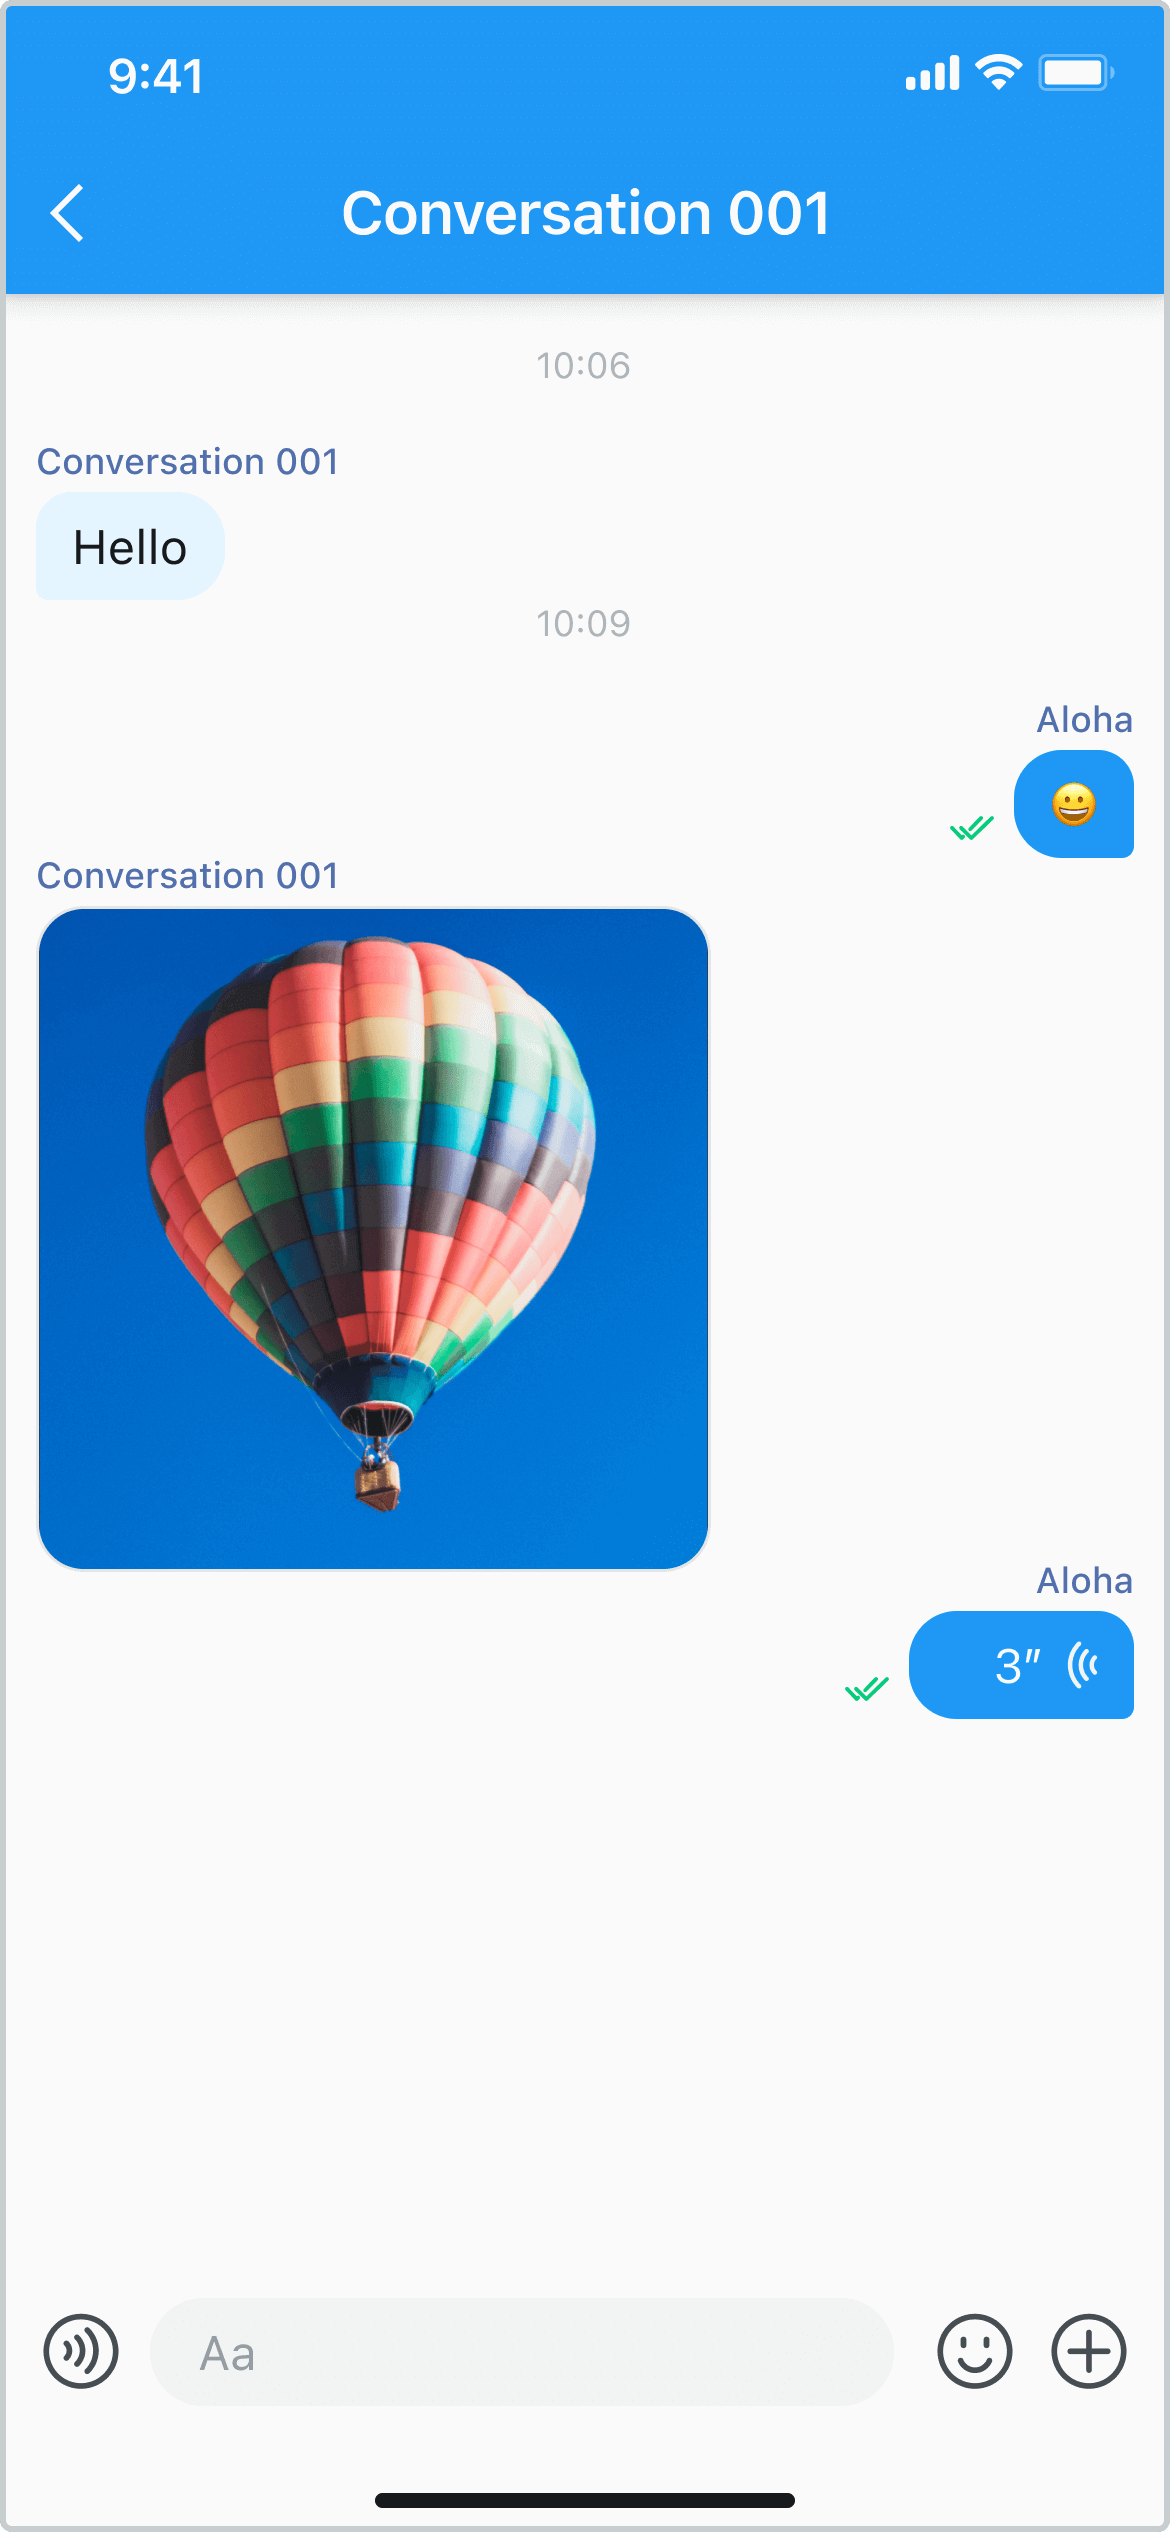
效果如下图所示:
添加气泡点击事件
通过设置 ChatMessagesView 中的 onTap 实现自定义点击功能。
class _MessagesPageState extends State<MessagesPage> {
Widget build(BuildContext context) {
return Scaffold(
appBar: AppBar(title: Text(widget.conversation.id)),
body: SafeArea(
// UIKit 中的聊天页面。
child: ChatMessagesView(
conversation: widget.conversation,
// 条目点击事件。
onTap: (context, message) {
bubbleClicked(message);
return true;
},
),
),
);
}
void bubbleClicked(EMMessage message) {
SnackBar bar = const SnackBar(
content: Text('气泡被点击'),
duration: Duration(milliseconds: 1000),
);
ScaffoldMessenger.of(context).showSnackBar(bar);
}
}
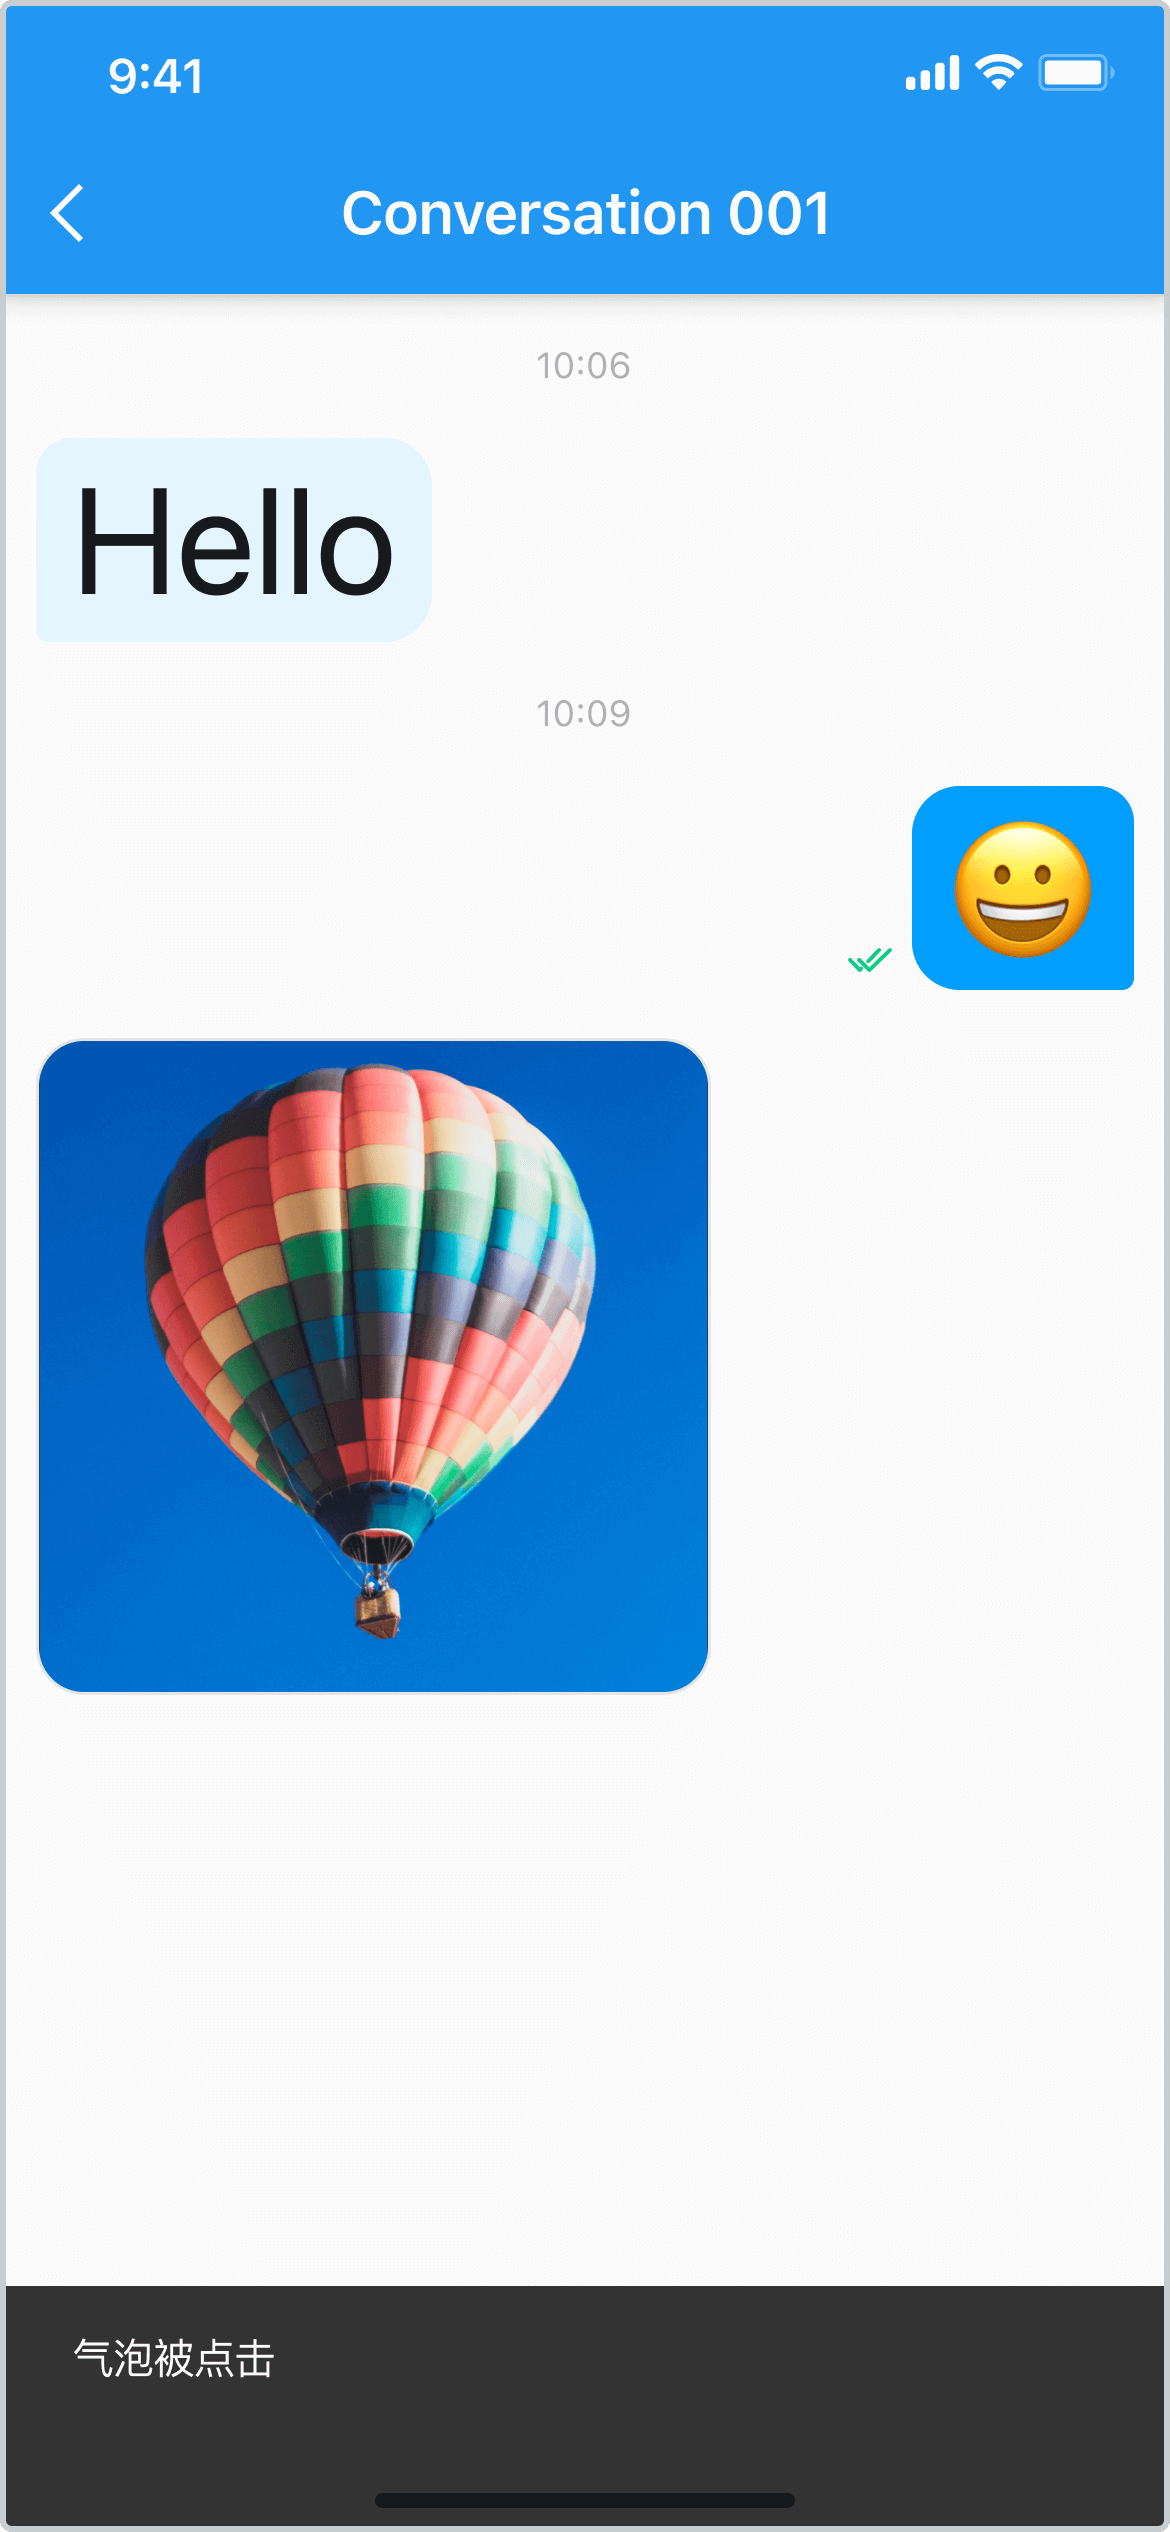
效果如下图所示:
自定义消息气泡样式
通过设置 ChatMessagesView 中的 itemBuilder 实现自定义气泡样式。
class _MessagesPageState extends State<MessagesPage> {
Widget build(BuildContext context) {
return Scaffold(
appBar: AppBar(title: Text(widget.conversation.id)),
body: SafeArea(
// UIKit 中的聊天页面。
child: ChatMessagesView(
conversation: widget.conversation,
itemBuilder: (context, model) {
if (model.message.body.type == MessageType.TXT) {
// 自定义消息气泡。
return CustomTextItemWidget(
model: model,
onTap: (context, message) {
bubbleClicked(message);
return true;
},
);
}
},
),
),
);
}
void bubbleClicked(EMMessage message) {
SnackBar bar = const SnackBar(
content: Text('气泡被点击'),
duration: Duration(milliseconds: 1000),
);
ScaffoldMessenger.of(context).showSnackBar(bar);
}
}
//自定义消息气泡。
class CustomTextItemWidget extends ChatMessageListItem {
const CustomTextItemWidget({super.key, required super.model, super.onTap});
Widget build(BuildContext context) {
EMTextMessageBody body = model.message.body as EMTextMessageBody;
Widget content = Text(
body.content,
style: const TextStyle(
color: Colors.black,
fontSize: 50,
fontWeight: FontWeight.w400,
),
);
return getBubbleWidget(content);
}
}
效果如下图所示:
自定义输入框样式
通过设置 ChatMessagesView 中的 inputBar 实现自定义输入框,同时用过实现 ChatMessageListController 发送信息。
class _MessagesPageState extends State<MessagesPage> {
late ChatMessageListController _msgController;
final TextEditingController _textController = TextEditingController();
final FocusNode _focusNode = FocusNode();
void initState() {
super.initState();
_msgController = ChatMessageListController(widget.conversation);
}
void dispose() {
_focusNode.dispose();
super.dispose();
}
Widget build(BuildContext context) {
return Scaffold(
appBar: AppBar(title: Text(widget.conversation.id)),
body: SafeArea(
// UIKit 中的聊天页面。
child: ChatMessagesView(
conversation: widget.conversation,
messageListViewController: _msgController,
inputBar: customInputWidget(),
needDismissInputWidget: () {
_focusNode.unfocus();
},
),
),
);
}
// 自定义输入 Widget。
Widget customInputWidget() {
return SizedBox(
height: 50,
child: Row(
children: [
Expanded(
child: TextField(
focusNode: _focusNode,
controller: _textController,
),
),
ElevatedButton(
onPressed: () {
final msg = EMMessage.createTxtSendMessage(
targetId: widget.conversation.id,
content: _textController.text);
_textController.text = '';
_msgController.sendMessage(msg);
},
child: const Text('Send'))
],
),
);
}
}
效果如下图所示:
