Vue 集成单群聊 UIKit
大约 4 分钟
UIKit-Web 集成文档
Vue 集成单群聊 UIKit
本文介绍如何在 Vue 项目中集成单群聊 UIKit。
前提条件
开始前,确保你的开发环境满足如下条件:
操作步骤
第一步 创建一个 Vue 项目
Vue 提供了一个方便的命令行工具快速构建应用程序。确保你的当前工作目录为创建项目的目录。
在命令行中运行以下命令创建项目:
npm init vue@latest
以上命令将引导你完成创建新项目时的选项。下面列出了本教程使用的设置。
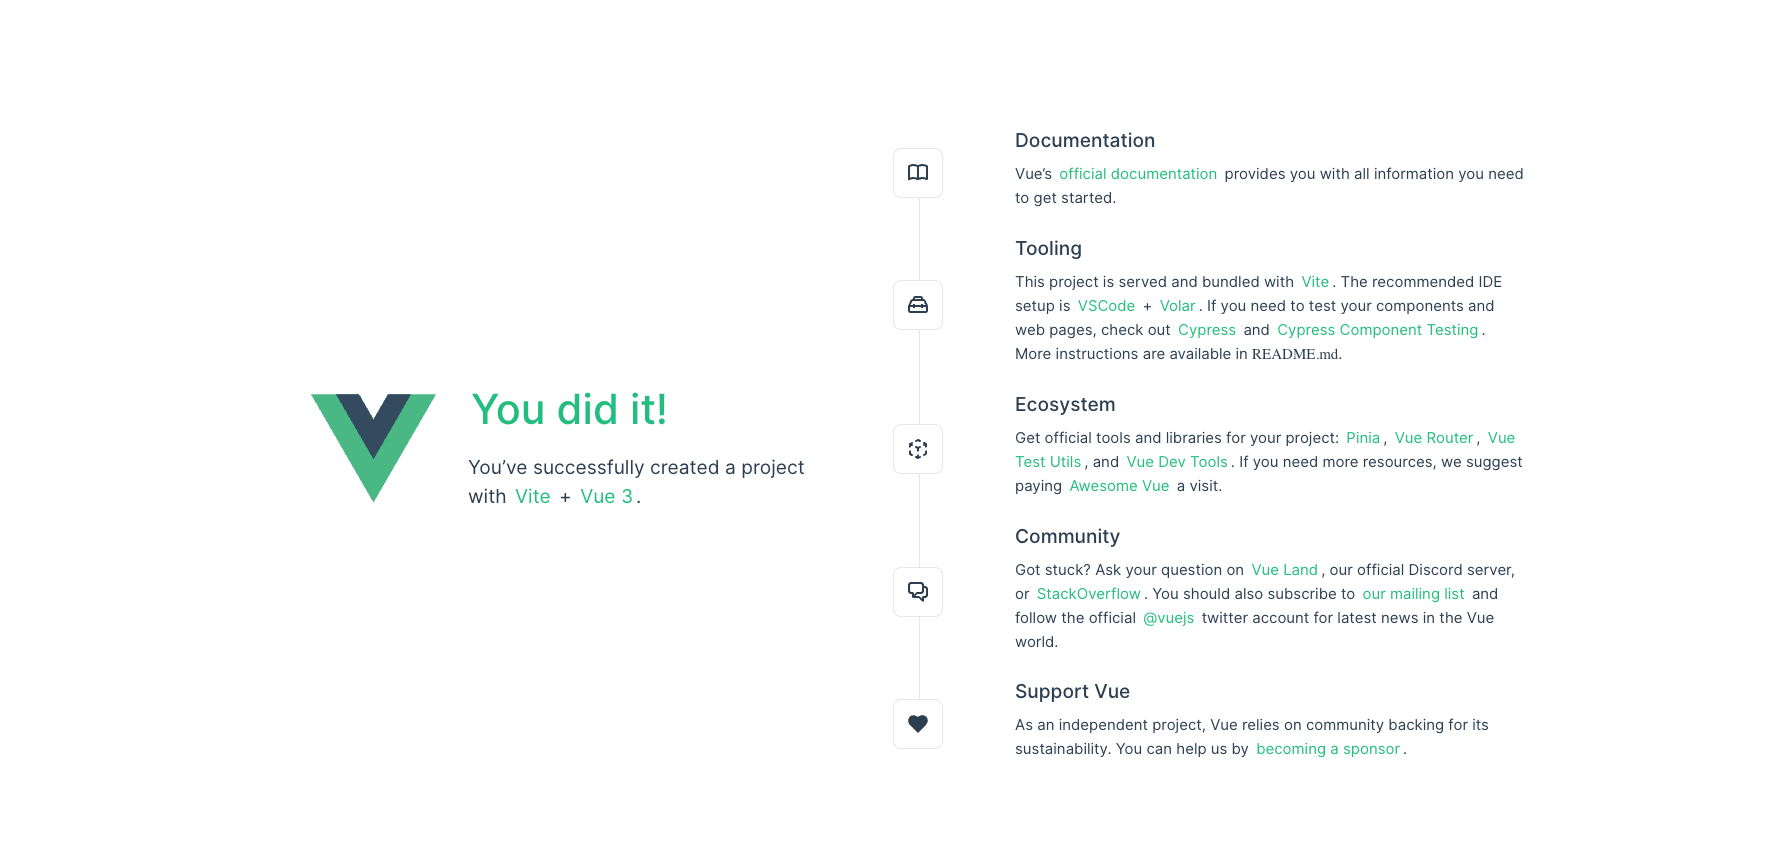
Vue.js - The Progressive JavaScript Framework

✔ Project name: … vue-project
✔ Add TypeScript? … No
✔ Add JSX Support? … Yes
✔ Add Vue Router for Single Page Application development? … Yes
✔ Add Pinia for state management? … No
✔ Add Vitest for Unit Testing? … No
✔ Add an End-to-End Testing Solution? › No
✔ Add ESLint for code quality? … No
✔ Add Vue DevTools 7 extension for debugging? (experimental) … No
以开发模式运行:
cd vue-project
npm install
npm run dev
运行成功后打开 "http://localhost:5173/" ,可以看到下图所示界面:
第二步 安装和配置 Veaury
Veaury 是基于 React 和 Vue 的工具库,主要用于 React 和 Vue 在一个项目中公共使用的场景。Veaury 适用于 Vue 3 和 Vue 2。
- 可以使用以下命令从 npm 安装 Veaury 库:
npm i veaury
- 安装
@vitejs/plugin-react插件:
npm i @vitejs/plugin-react
- 为了使 Vue 应用能够导入和呈现 UIKit 组件,需要更新项目中的
vite.config.js文件以使用 Veaury 插件。
import { fileURLToPath, URL } from "node:url";
import { defineConfig } from "vite";
import vue from "@vitejs/plugin-vue";
import vueJsx from "@vitejs/plugin-vue-jsx";
// >= veaury@2.1.1
import veauryVitePlugins from "veaury/vite/index.js";
// 如果是vite 6, 应该使用 `veaury/vite/esm`
// import veauryVitePlugins from 'veaury/vite/esm'

// https://vitejs.dev/config/
export default defineConfig({
  plugins: [
    // 关闭 vue 和 vuejsx 插件
    // vue(),
    // vueJsx(),
    // type 设为 vue 时, 所有名为 `react_app` 目录中的文件的 jsx 将被 react jsx 编译,其他文件里的 jsx 将以 vue jsx 编译。
    veauryVitePlugins({
      type: "vue"
    })
  ],
  resolve: {
    alias: {
      "@": fileURLToPath(new URL("./src", import.meta.url))
    }
  }
});
- 在
main.js中配置 VeauryOptions,以适配 React 19:
import "./assets/main.css";
import { createApp } from "vue";
import { createRoot } from "react-dom/client";
import { setVeauryOptions } from "veaury";
import App from "./App.vue";
import router from "./router";

setVeauryOptions({
  react: {
    createRoot,
  },
});

const app = createApp(App);

app.use(router);

app.mount("#app");
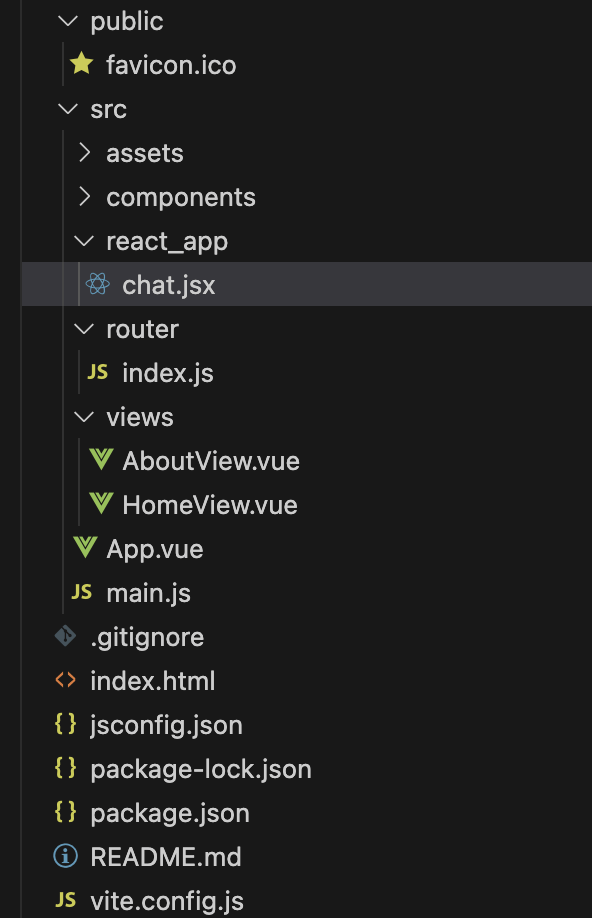
- 可将任何 React 组件添加到
react_app目录中,然后将这些 React 组件导入到.vue文件,并在标准 Vue 组件中呈现。
第三步 在 Vue 项目中集成 React 组件
首先,你需要在 react_app 中创建一个新的 React 组件。该组件负责导入、配置和渲染 UIKit。
安装 UIKit:
npm i easemob-chat-uikit --save创建
react_app/chat.jsx文件,导入 UIKit,使用环信即时通讯 IM 的 App Key 和用户信息初始化 UIKit。
代码如下,请将示例中的 appKey、userId 和 password 替换为你的实际值。
若要实现自动登录,初始化时需传入 userId、password 或 token。
你需要在环信控制台创建 IM 用户,获取用户 ID 和密码。如果使用 token,你需要从你的 App Server 获取用户 token,详见使用环信用户 token 鉴权 。
// 导入 UIKit 到 react_app/chat.jsx 文件
import { UIKitProvider, Chat, ConversationList } from "easemob-chat-uikit";
// 引入 UIKit 样式
import 'easemob-chat-uikit/style.css'

const appKey = "your appkey";
const userId = "userId";
const password = "password";
// 若通过 token 登录,使用下面的代码:
// token: "token",

const EaseChat = (props) => {
  // 父组件传入的 theme 属性
  const { theme } = props;
  return (
    <UIKitProvider
      initConfig={{
        appKey,
        userId,
        password
      }}
      theme={{
        mode: theme
      }}
    >
      <div className="chat-wrap">
        <div className="conversation-list">
          <ConversationList></ConversationList>
        </div>
        <div className="chat">
          <Chat></Chat>
        </div>
      </div>
    </UIKitProvider>
  );
};

export default EaseChat;
第四步 将 UIKit 添加到 Vue 页面
将 EaseChat 添加 Vue 页面, 删除当前 views/HomeView.vue 中的所有代码并添加下面的代码。
该代码执行以下操作:
- 导入 Veaury 和 EaseChat 聊天组件。
- 使用 Veaury 的
applyPureReactInVue函数将我们的 React 组件转换为 Vue 组件。 - 定义
theme变量,传递给 EaseChat 组件,用于切换 UIKit 的主题。 - 添加一些样式,美化界面。
<script setup>
import { ref } from "vue";
import { applyPureReactInVue } from "veaury";
import EaseChat from "../react_app/chat";
import Logo from "../assets/logo.svg";

const Chat = applyPureReactInVue(EaseChat);

const theme = ref("light");

const switchTheme = () => {
  theme.value = theme.value === "light" ? "dark" : "light";
};
</script>

<template>
  <main>
    <header>
      <div class="header">
        <img class="logo" :src="Logo" alt="logo" />
        <span class="theme" @click="switchTheme">Switch Theme: {{ theme }}</span>
      </div>
    </header>
    <Chat :theme="theme" />
  </main>
</template>

<style>
.chat-wrap {
  width: 100vh;
  height: calc(100vh - 50px);
  display: flex;
  box-sizing: border-box;
}

.conversation-list {
  width: 300px;
  flex-shrink: 0;
}

.chat {
  width: 100%;
}
</style>

<style scoped>
.header {
  display: flex;
  height: 50px;
  font-size: 20px;
  background: #4faeea;
  padding: 0 20px;
  align-items: center;
  justify-content: space-between;
}

.theme {
  cursor: pointer;
}

.logo {
  width: 45px;
}
</style>
- 删除
App.vue文件template中的无关代码,仅保留RouterView:
<template>
  <RouterView />
</template>
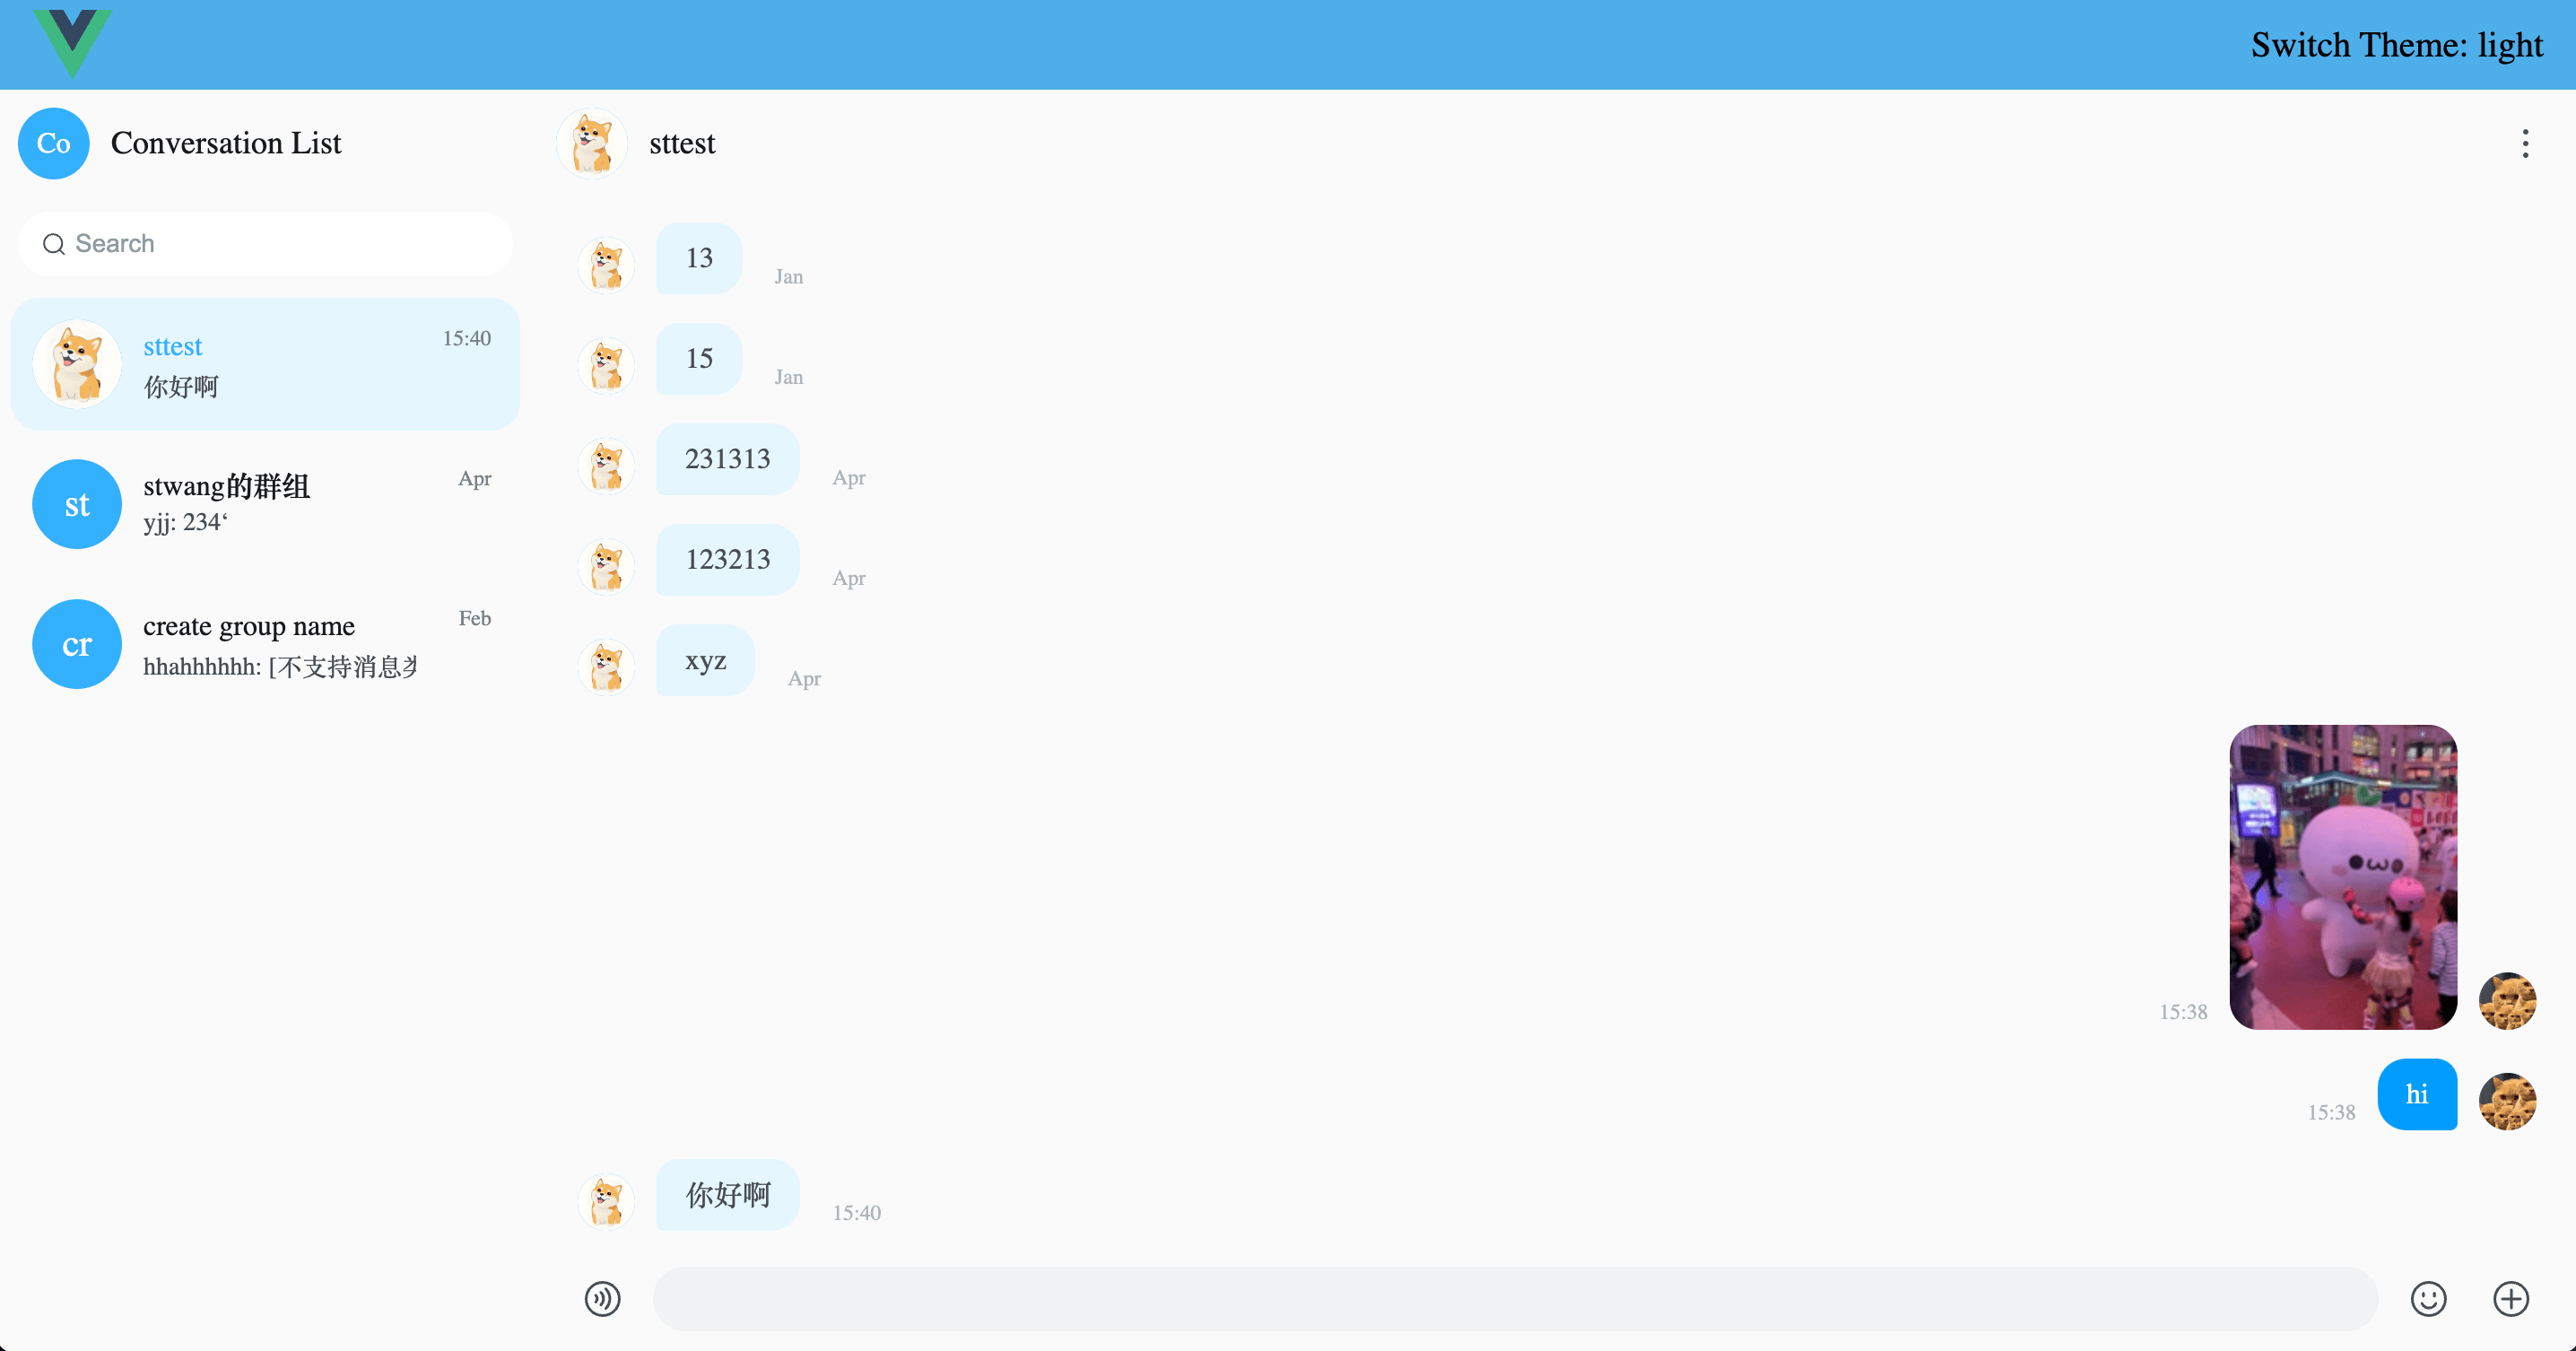
当访问 http://localhost:5173 时,界面如下:
浅色主题
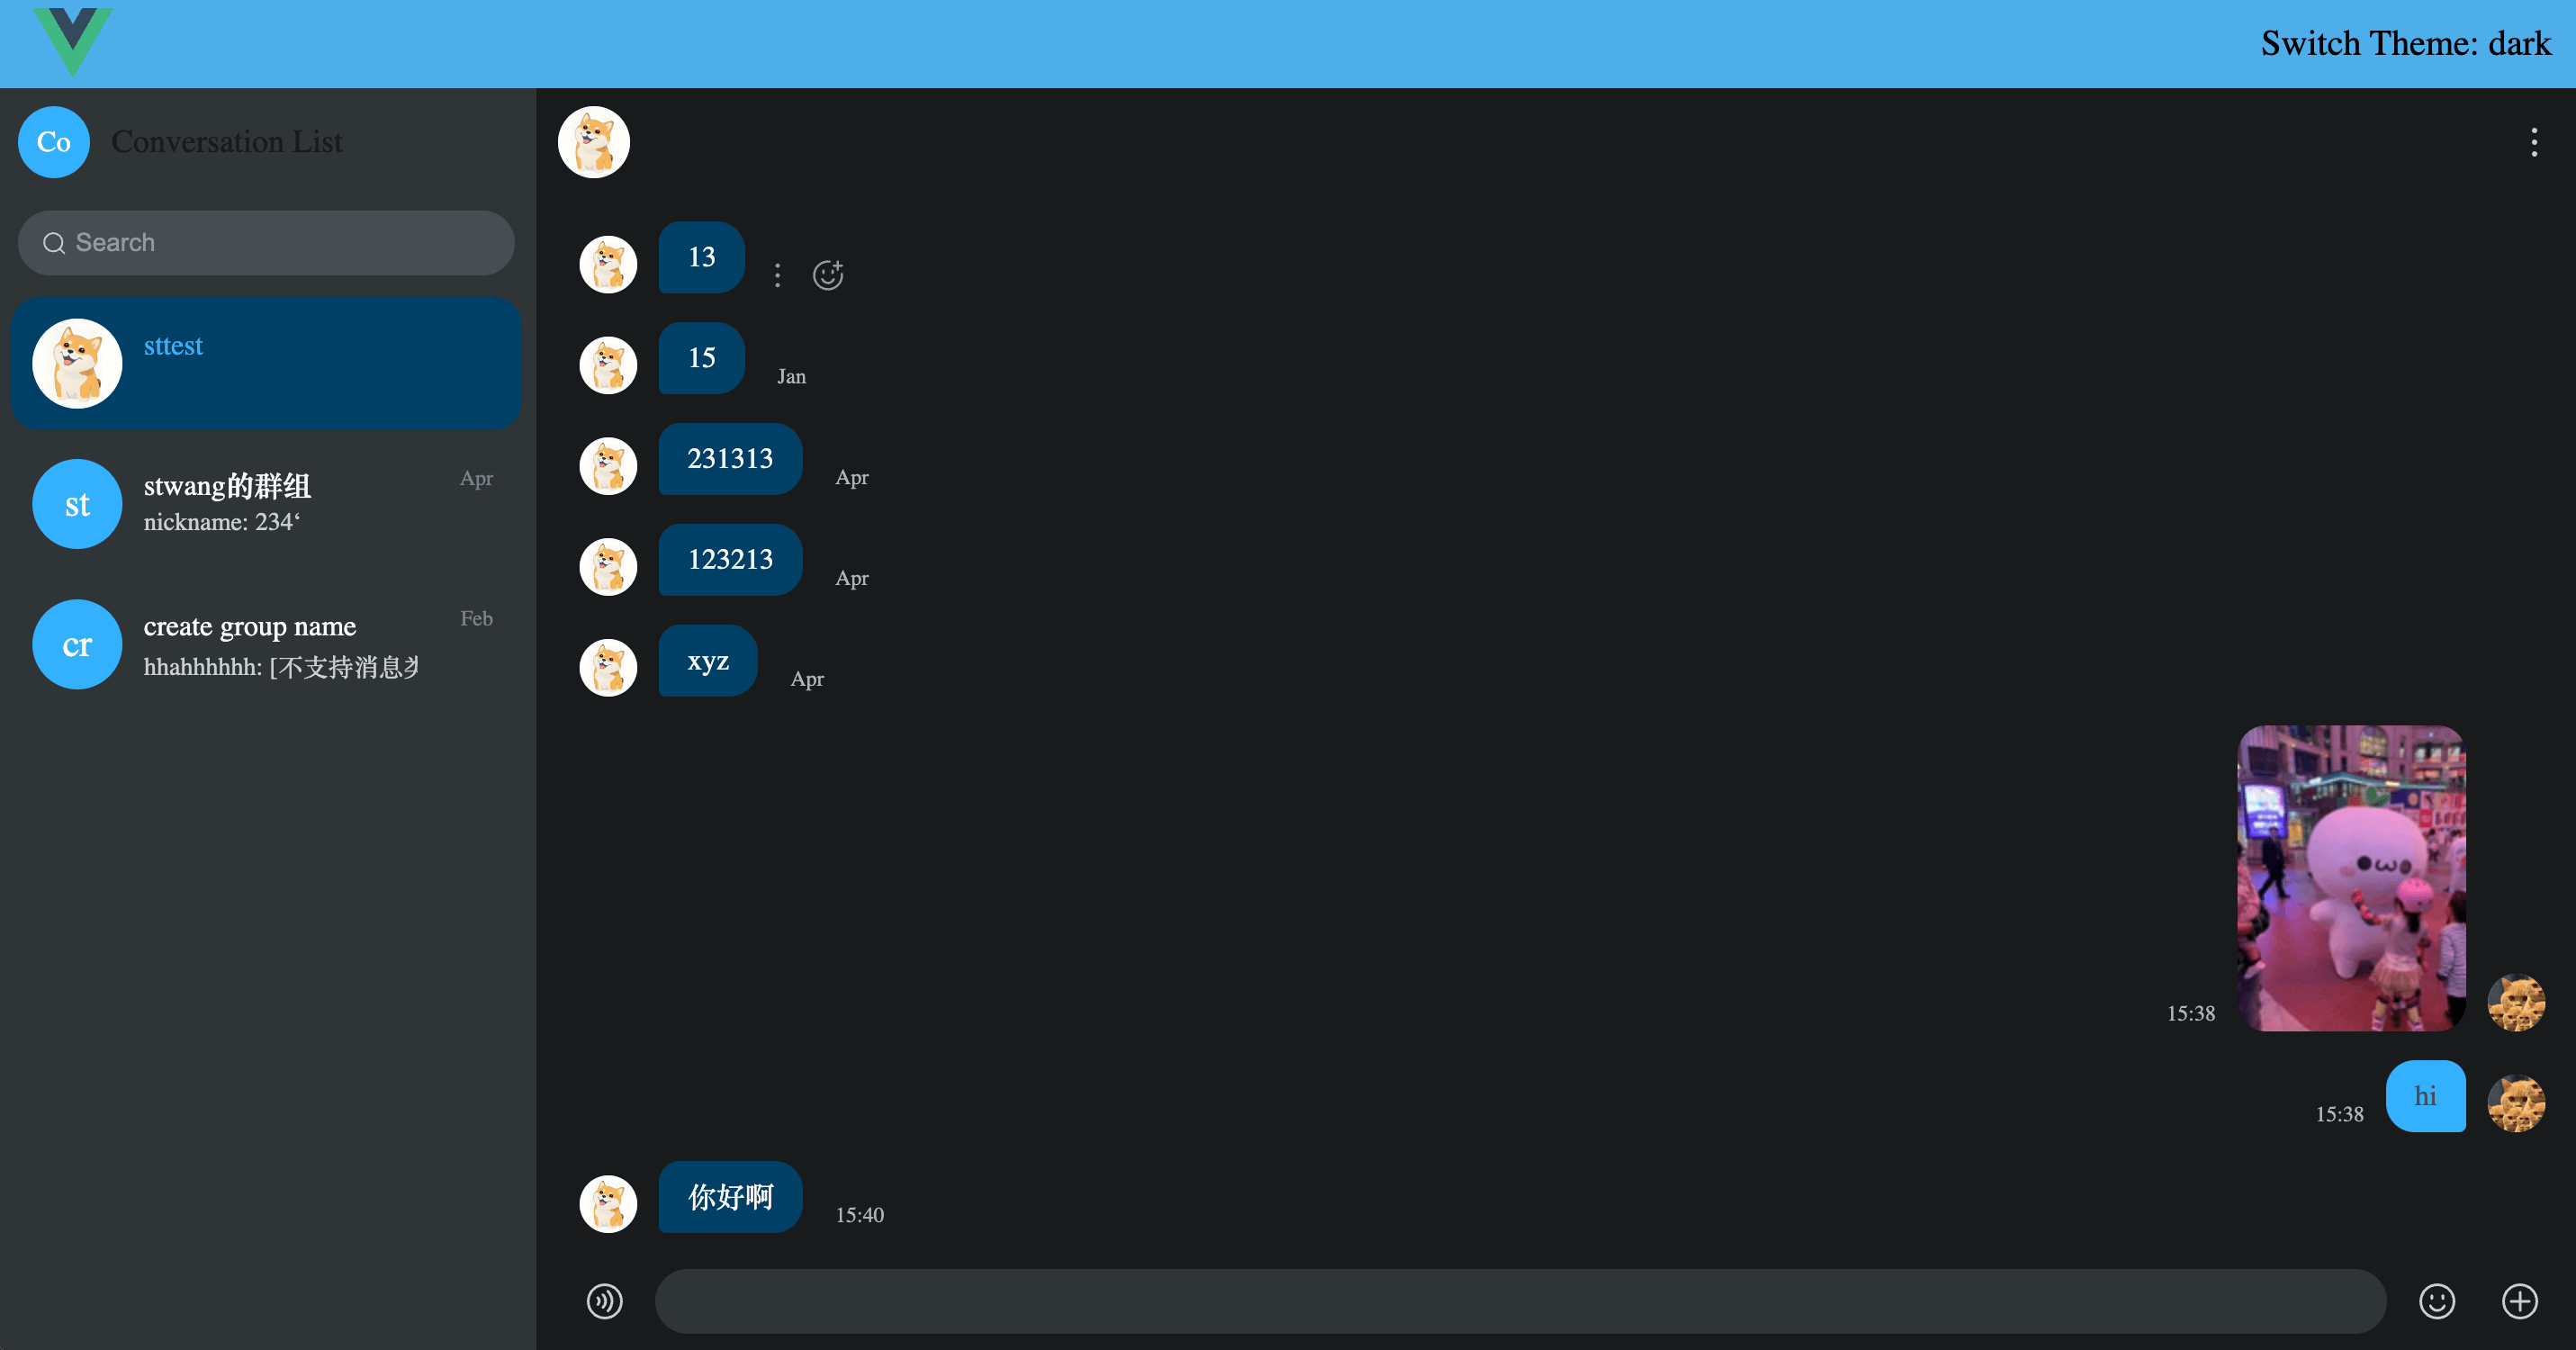
点击右上角的 Switch Theme 切换主题:
深色主题